if you update behind a proxy server:
sudo sed -i "/^enabled=.*/a proxy=<YOUR PROXY:PORT>" /etc/leapp/files/leapp_upgrade_repositories.repo
sudo sed -i "/^enabled=.*/a proxy=<YOUR PROXY:PORT>" /etc/leapp/files/vendors.d/epel.repo
MORE ERROR: https://neilrieck.net/docs/linux_notes_leapp.html
Step 1: Create a Backup
Before migrating any system, the best practice is to create backups and snapshots of the system. The exact steps depend on the infrastructure, but a bare-metal restore is recommended. Tools such as the dd command and reliable backup and restore solutions are recommended before moving production systems.
Important: It is highly recommended to do a trial run of the migration in a sandbox environment before commiting.
Step 2: Install Migration Packages
Install the required packages for migration. Follow the steps below:
1. Install the elevate-release package from the repository for the latest version. Use the following command:
sudo yum install -y http://repo.almalinux.org/elevate/elevate-release-latest-el$(rpm --eval %rhel).noarch.rpm
2. Install the Leapp migration data packages for Rocky Linux and the upgrade utility with the following:
sudo yum install -y leapp-upgrade leapp-data-rocky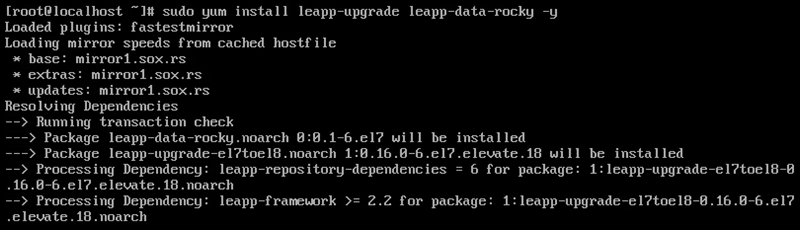
Note: Other options include centos, almalinux, eurolinux, and oraclelinux.
The Leapp utility handles OS and application upgrades.
Step 3: Run Pre-Upgrade Checks
Run a pre-upgrade to do a system check before upgrading:
sudo leapp preupgrade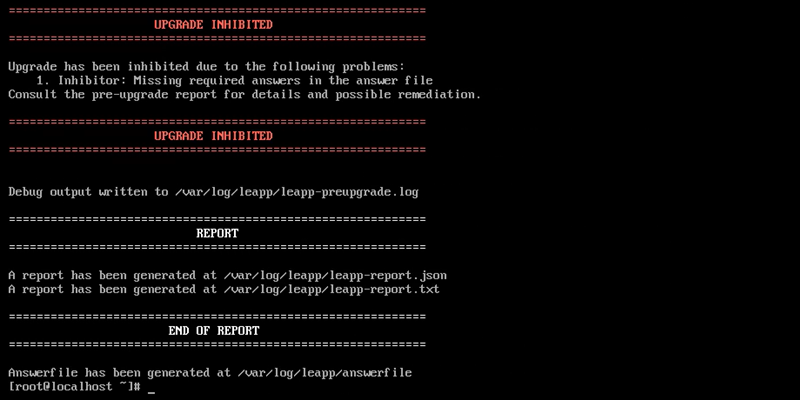
The pre-upgrade takes some time. When completed, it generates files in the /var/log/leapp/ directory that contain all potential upgrade issues and how to address them. The following files contain crucial information:
- answerfile - Contains questions that require a true or false answer to proceed with the upgrade.
- leapp-report.txt - Contains all possible problems and fixes to perform before or after the upgrade.
- leapp-preupgrade.log - The complete pre-upgrade log and debug output.
Check the first two files and perform all required pre-upgrade actions. Some common pre-upgrade fixes when migrating from CentOS 7 are:
1. Removing the pata_acpi kernel module:
sudo rmmod pata_acpi2. Updating the SSH config file to permit root login:
echo PermitRootLogin yes | sudo tee -a /etc/ssh/sshd_config3. Confirming the removal of the PAM PKCS#11 module:
sudo leapp answer --section remove_pam_pkcs11_module_check.confirm=True
The command updates the answerfile, confirming the removal.
Address all fixes and rerun the pre-upgrade command to confirm everything is fixed:
sudo leapp preupgrade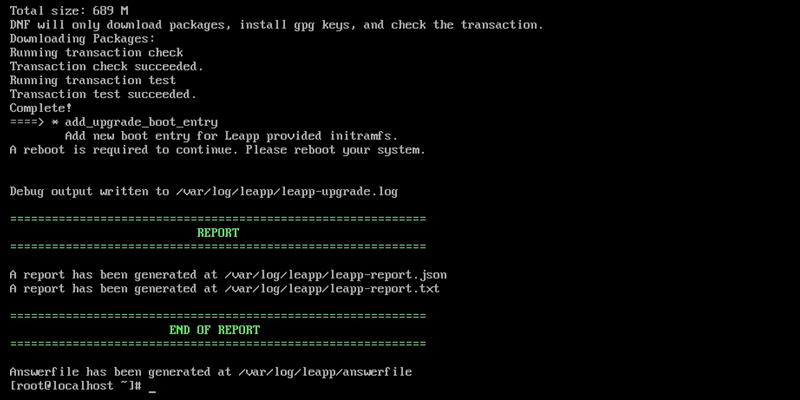
The system is ready for upgrade when the "Upgrade Inhibited" message disappears.
Step 4: Run Upgrade
When no more suggested actions exist, the system is ready to upgrade. Proceed with the OS upgrade steps below:
1. Run the Leapp upgrade command:
sudo leapp upgrade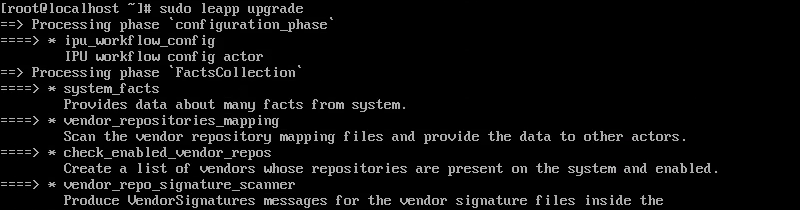
Wait for the upgrade to complete. If the upgrade fails, return to the previous step and address any issues missed in the pre-upgrade check.
2. When the process completes successfully, reboot the machine:
rebootThe reboot is required for the package-swapping process to begin.
3. The GRUB menu shows a new entry called ELevate-Upgrade-Initramfs.
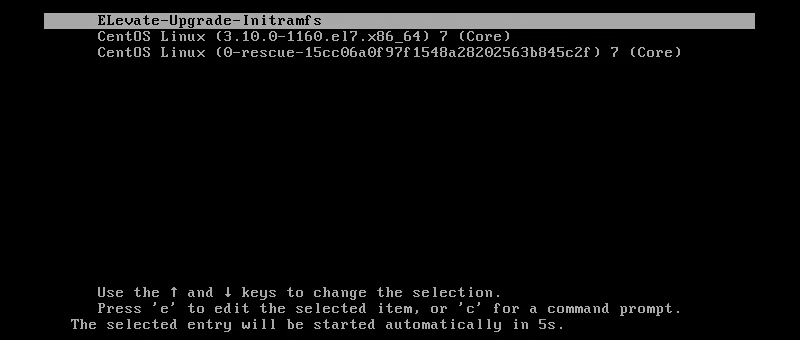
After five seconds, the system automatically boots into this selection and continues the upgrade process.
4. The system restarts twice more after the upgrades. When the restarts are complete, the GRUB menu shows a Rocky Linux 8 entry.
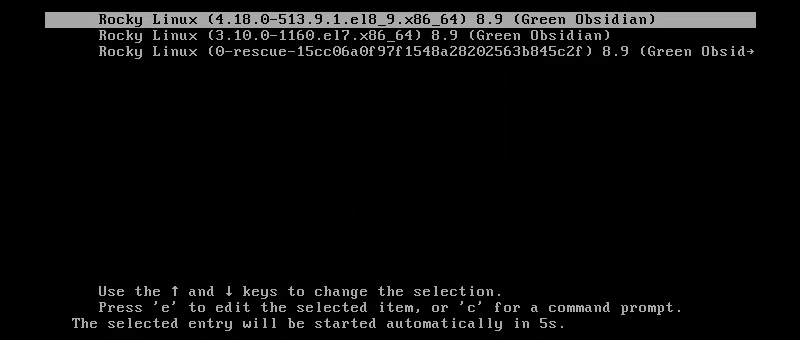
The entry indicates a successful upgrade from CentOS 7 to Rocky Linux 8. The system automatically boots into the upgraded version.
Step 5: Post-Upgrade Steps
After the upgrade, complete the following post-upgrade tasks:
1. Log in as the root user using the same credentials from the CentOS 7 system.
2. Clean up any orphaned packages from CentOS 7:
rpm -qa | grep -E 'el7[.-]' | xargs rpm -eThe command searches for and removes all unnecessary CentOS packages and may hinder the following upgrade.